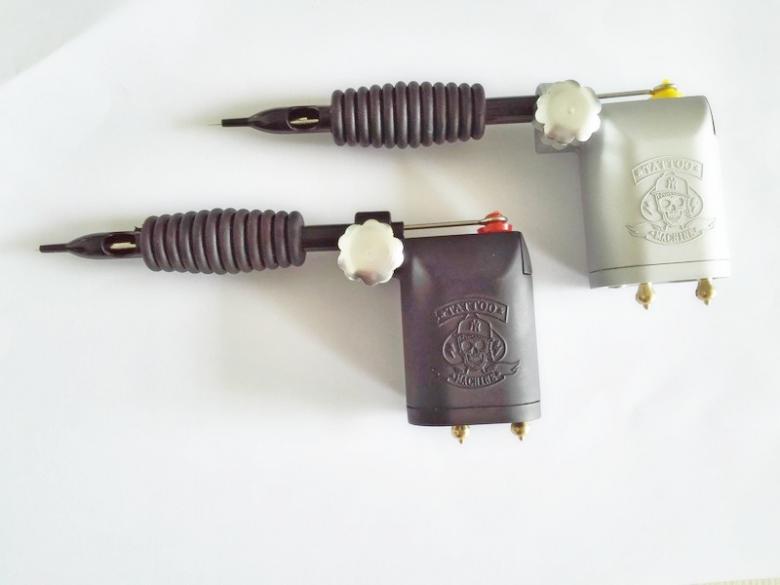
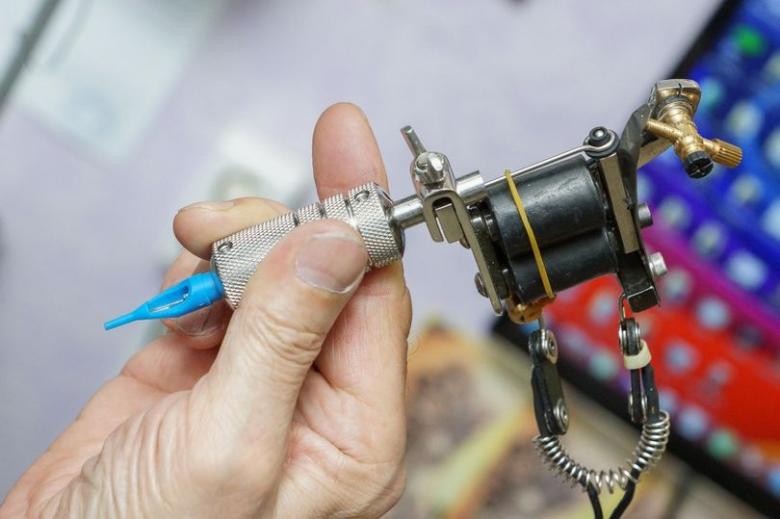
Tattoo machine with your own hands - step by step instructions for assembling an induction or rotary machine
To assemble a tattoo machine you need diligence and a desire to get a quality result. Having it available, guys and girls can decorate their bodies with an unusual pattern. On the Russian market presents inexpensive products from China. Buying it, you can get rid of the laborious work in your own copy of something to adjust and regulate.
In the online store you can buy any accessory for tattoos. It is not uncommon for work with a machine to turn out to be frustrating. It is good enough for gaining basic skills. The splices of 8 or more needles will not allow you to paint the pattern tightly, but are suitable for straight contour lines.
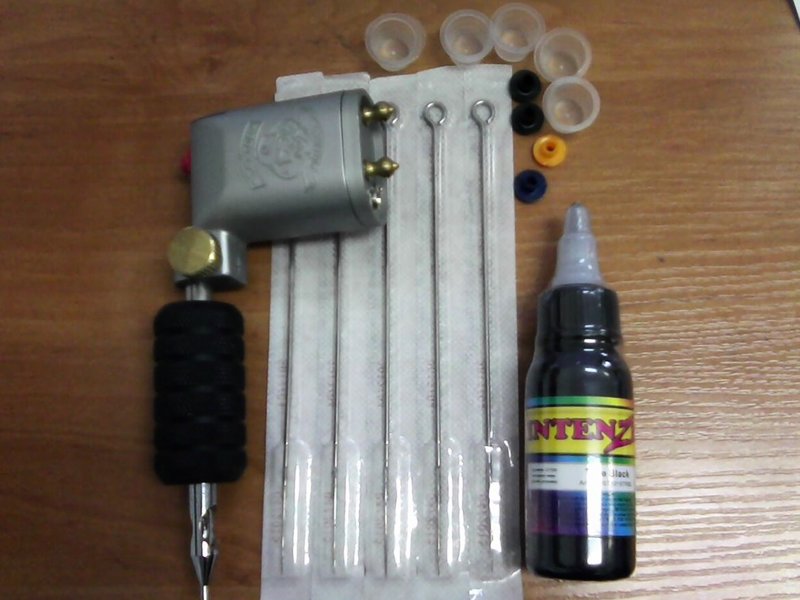
Necessary accessories
In the absence of the possibility of buying a kit for beginners, as well as spending money on the salon, you can cope with the task, relying on their own strength. Not everyone immediately dares to such an event because of the unusualness and novelty of the procedure. But as in any other case, showing persistence and purpose, it is possible to realize it!
Tools are always available for sale, and many of them are in the home piggy bank of the master. Since the main elements are a needle and an electric motor, you can use a sharpened guitar string #1 or #6. If you do not have access to the instrument, it is replaced by a regular needle included in the beading kit.
Even easier to find an electric motor, which is equipped with toy cars, electric shavers or players for scrolling cassettes. If you don't have any at home, thank you that you can absolutely inexpensively buy a motor at the market in the radio goods section or a used spare part. The power should be at least 12 V, the best option - 18.

Accessories
As extras, you will need:
- A pen or pencil - will serve as a case.
- A spoon, aluminum fork, or toothbrush for a staple or coupler - to attach the motor to the housing.
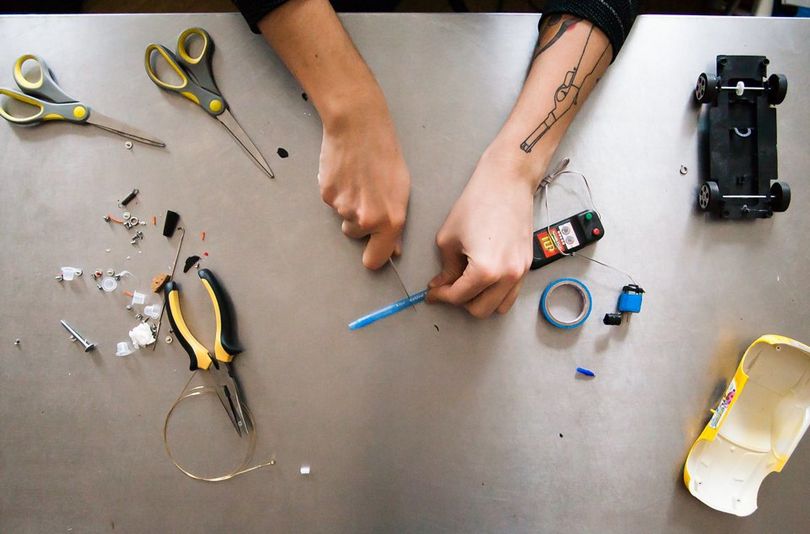
- Duct tape or soldering iron, wire cutters.
- Power source - a battery charger with the right voltage.
- Gear, a button.
The list of names can be different. It should be based on what kind of machine is created and what exactly it is planned to buy. Knowing how the device works, you can use any suitable parts.
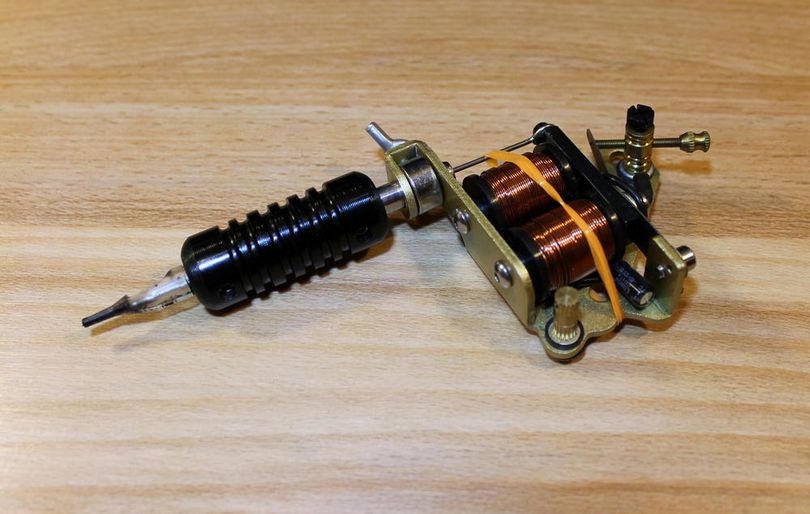
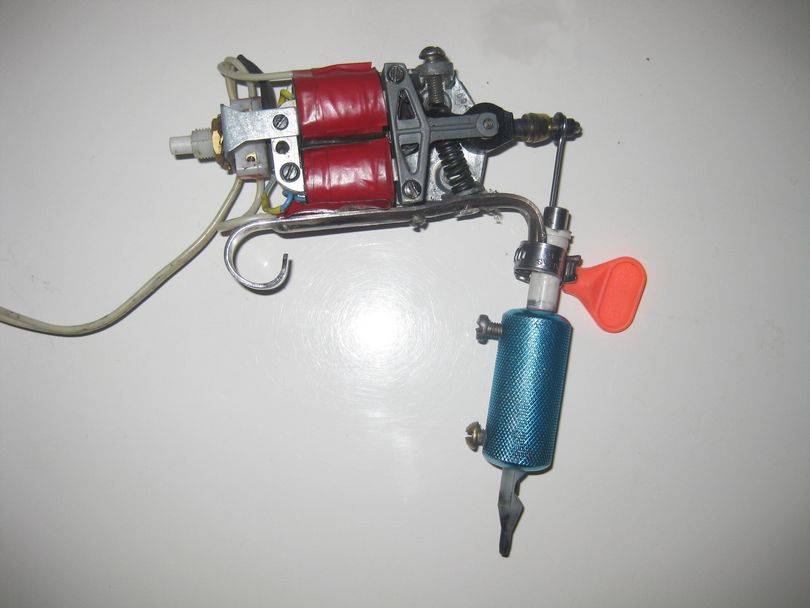
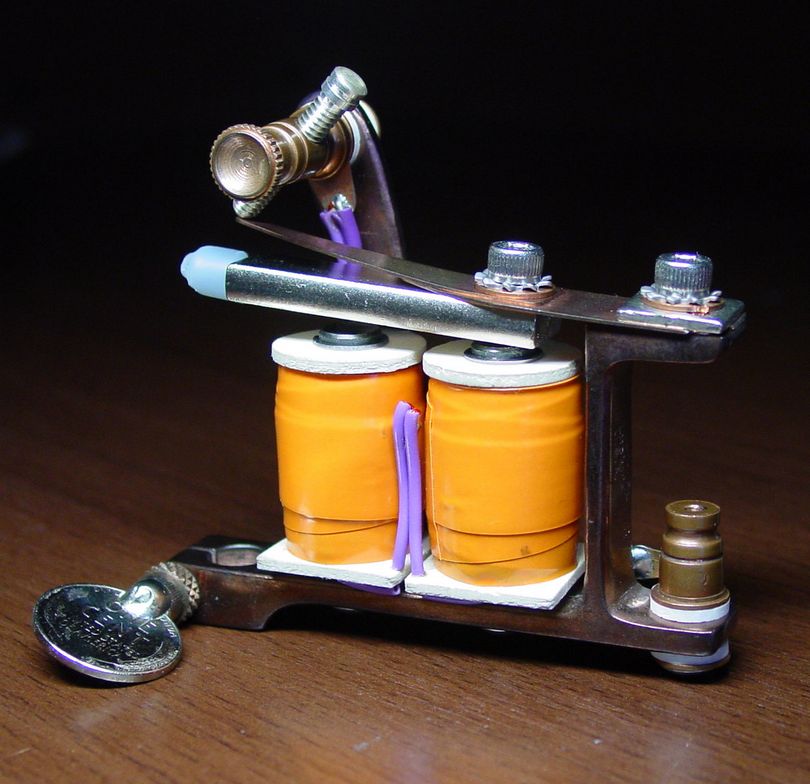
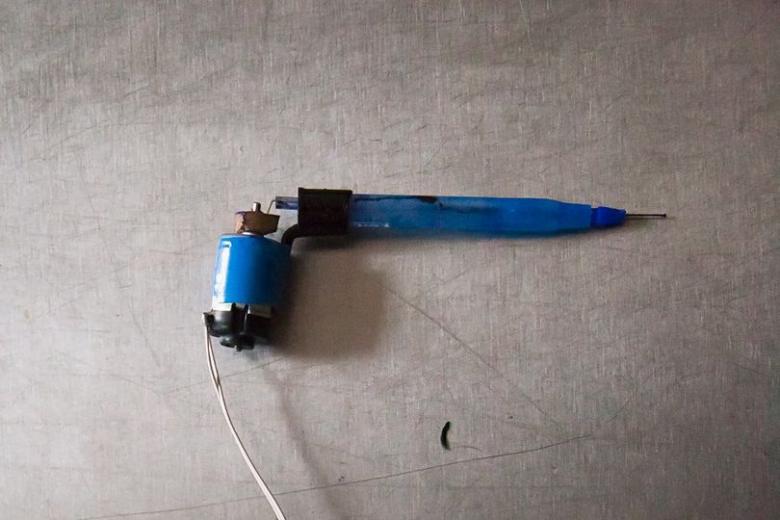
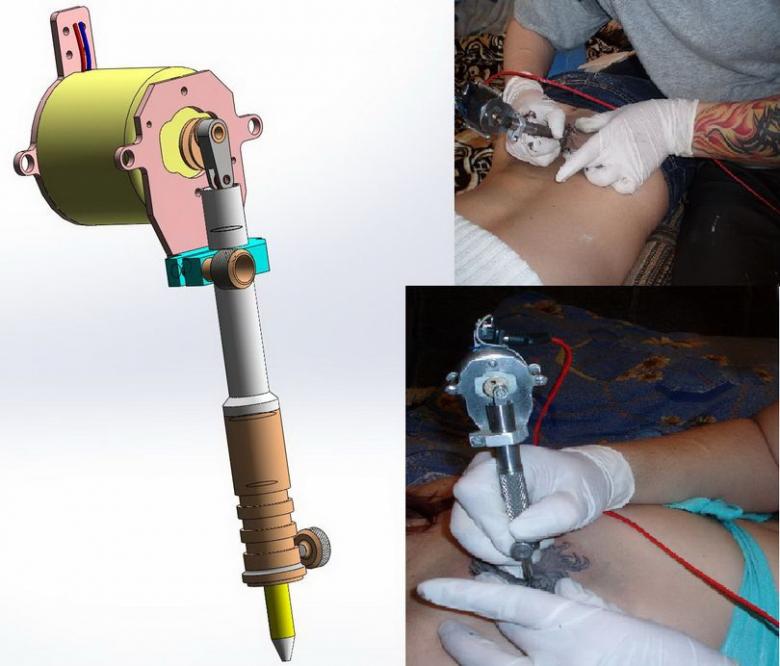
Assembling a rotary machine
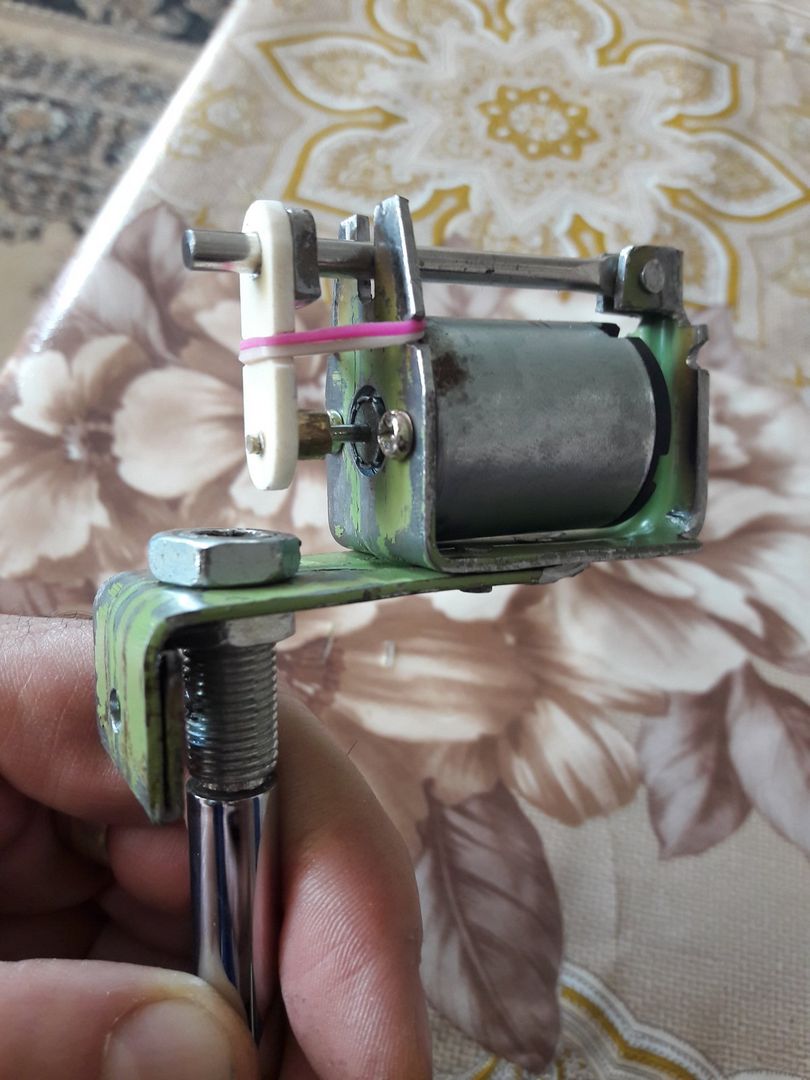
The option of a small electric motor is just right for those who are not accustomed to masters. Induction machines do not have a motor. Instead, they are equipped with a pair of coils that generate a magnetic field. Without knowing the basics of mechanics and the rules of metal handling, not everyone will be able to make them. That is why it is better to choose a rotary machine.
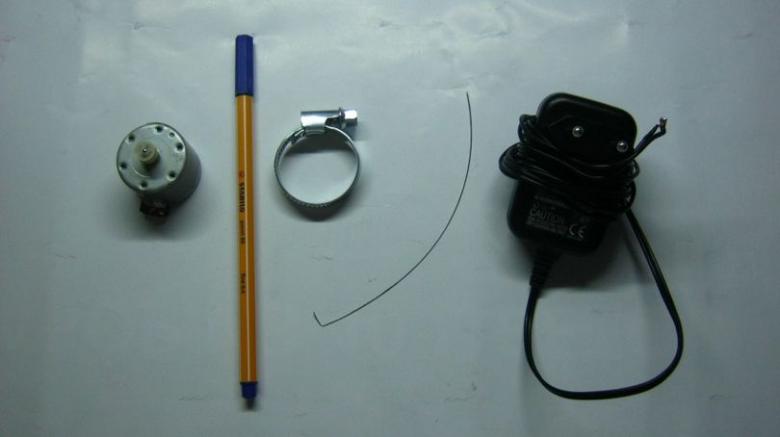
The list of items from which it is assembled is as follows:
- Electric motor.
- Charger.
- A button with 4 holes.
- A pen or pencil.
- An aluminum spoon.
- Guitar string.
- Insulating tape.
- Antimicrobial solution.
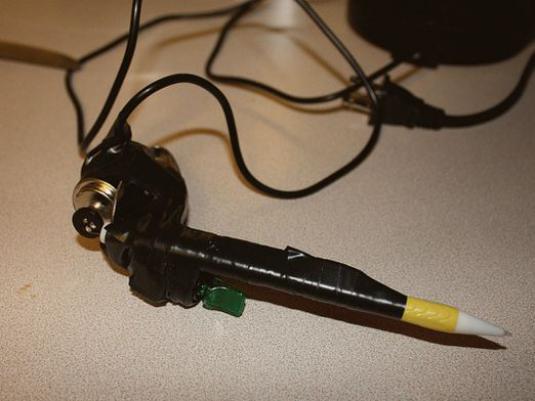
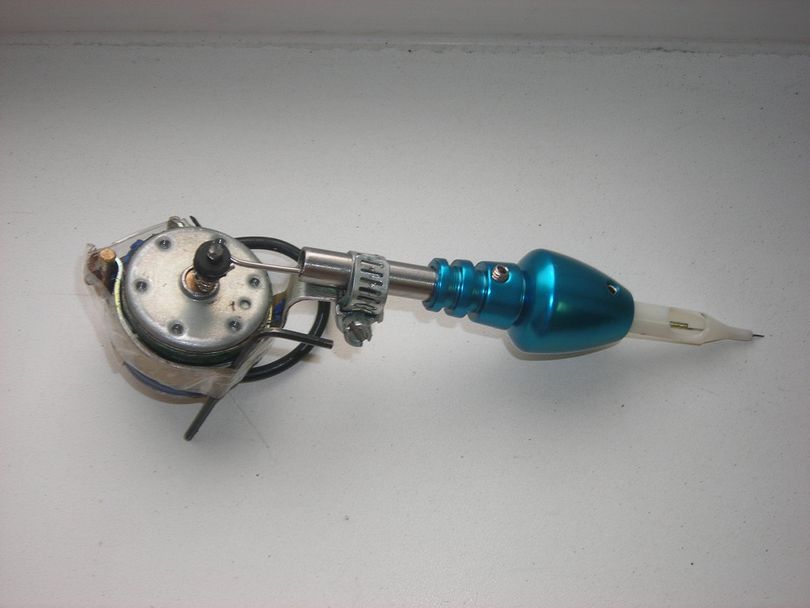
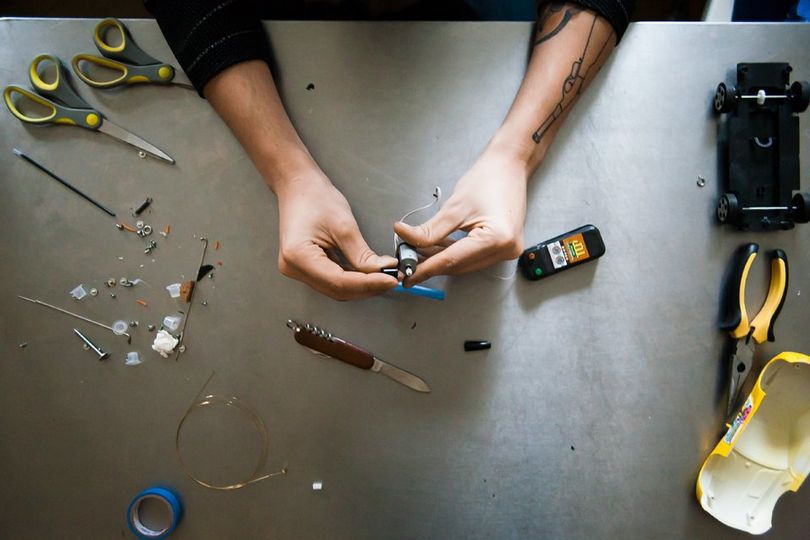
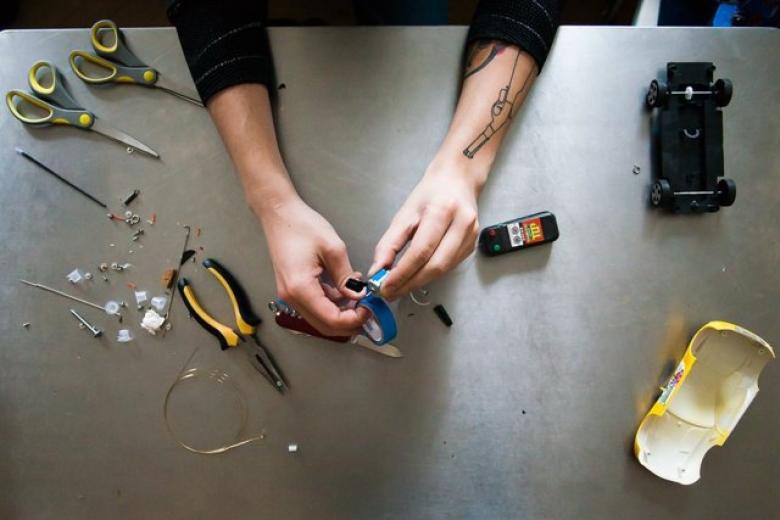
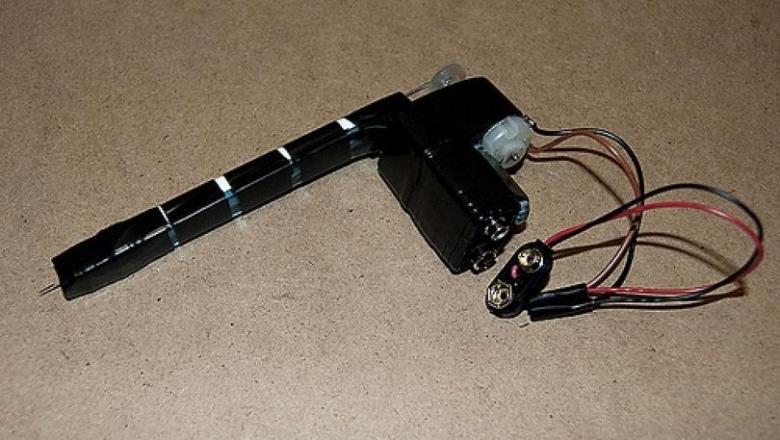
Step by step instructions
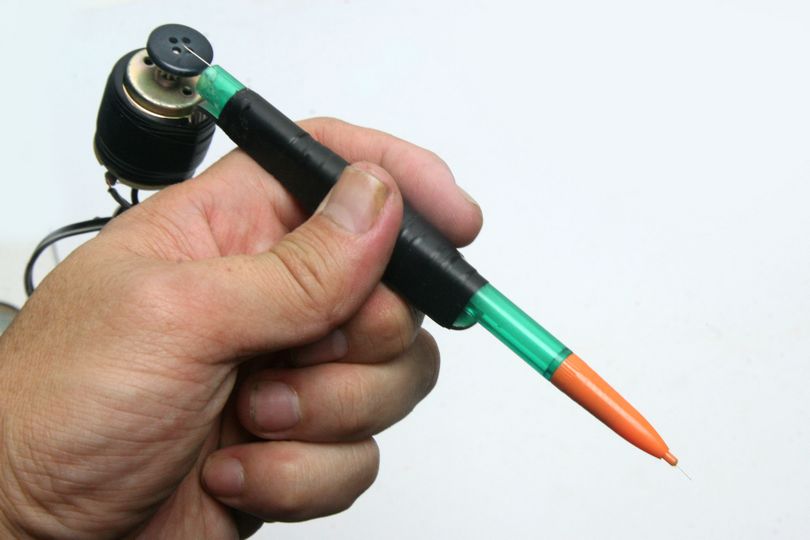
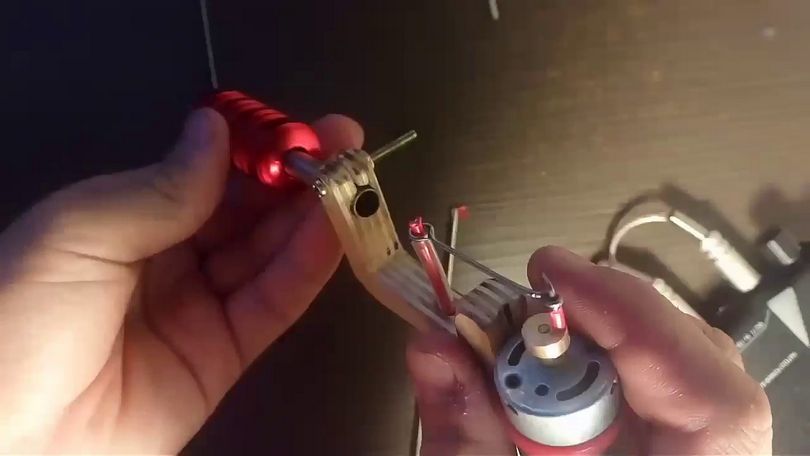
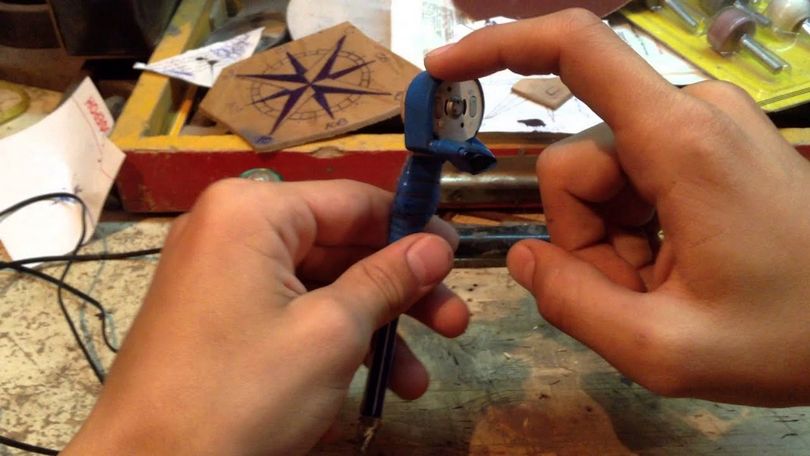
- On the shaft of the motor should be found a pinion. A button is attached to it with superglue so that the holes remain free of glue. It should be left to dry for a while.
- The rod of a pen or mechanical pencil, cleaned of ink and washed with water, is treated with an antibacterial compound. On the side of the ball, the tip of the rod is slightly sawn off to allow the guitar string to fit unobstructed. Its length should match the size of the rod.
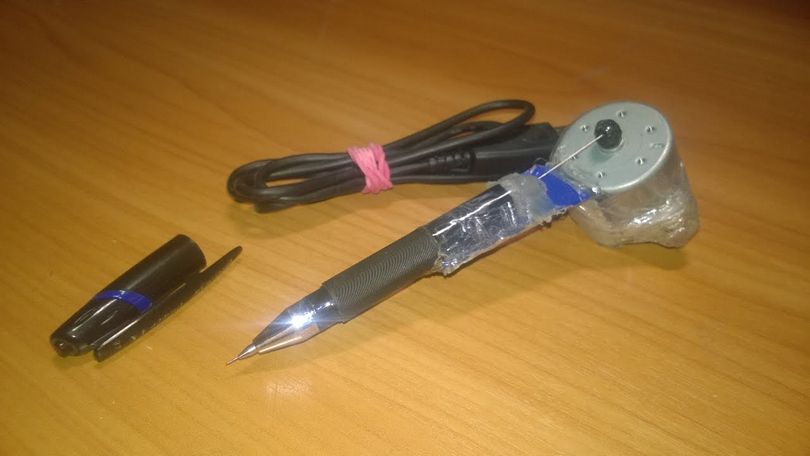
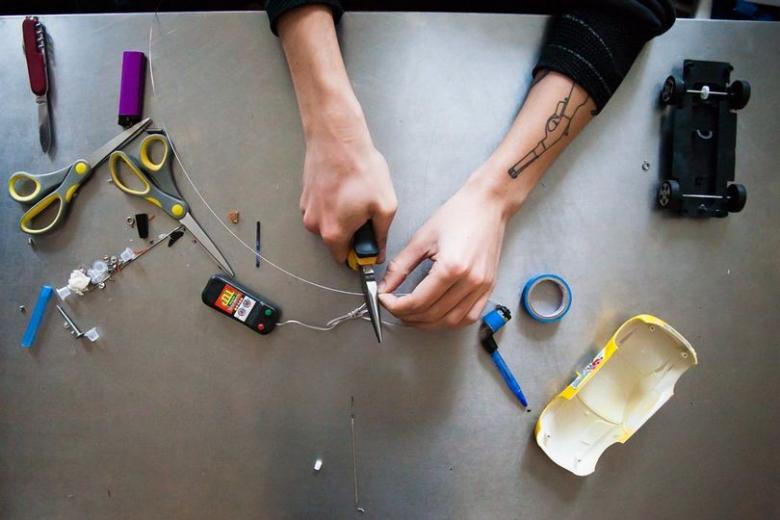
- From the spoon, a staple is made to fasten the motor and the body. It is represented in this case by a pencil or a pen. The part of the spoon intended for eating is broken off, and the handle is bent in the letter "G". As a result, a staple is formed.
- Ballpoint pen and staple are fastened with duct tape along the handle. It is necessary that its end and the place of the bend coincide, being at the same level, not to miss. Similarly connect the motor to the button.
- The string from the guitar is inserted into the handle, the end is bent in a "U". At the end of the process, it passes into the buttonhole.
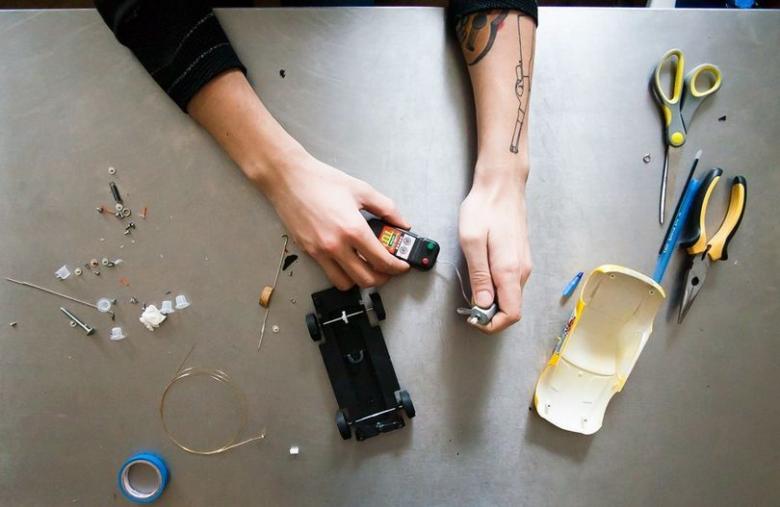
The algorithm is quite simple. No complicated manipulation or special parts are assumed. Next, you need to test the assembly on a piece of leather taken from a jacket or bag and turn on the charger. You can also test the machine on a banana peel. The video on the site will tell you in detail about the sequence of operations.
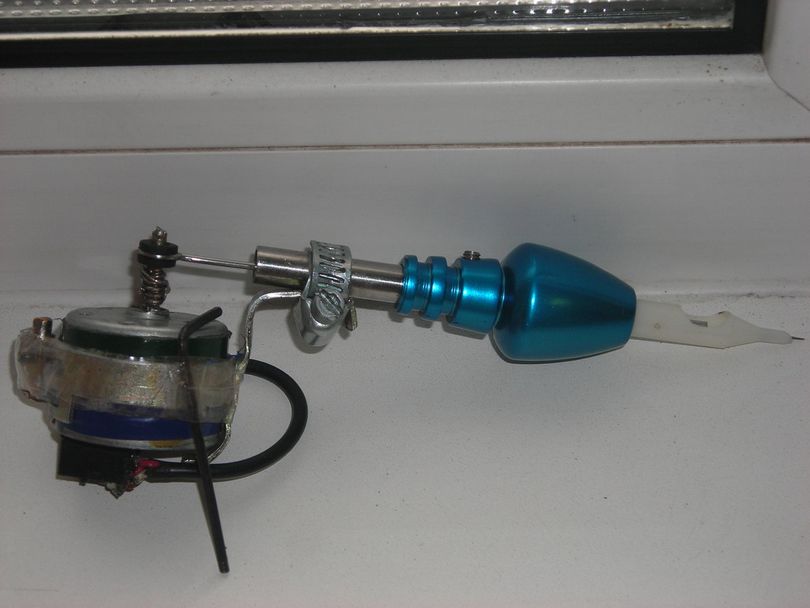
Machine without string
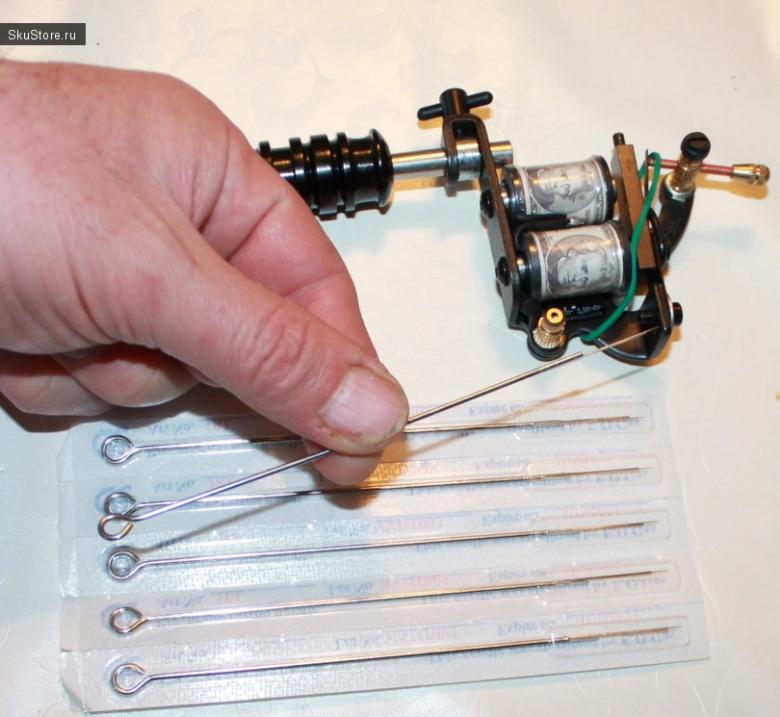
It is important to note that the string, unlike other materials, perfectly holds the paint, is not subject to deformation and the effects of rust. But do not be upset if it can not be obtained. Necessary for the rotary type, it is not suitable for the induction machine. Because of the stronger puncture under the influence of induction, it easily breaks. A needle specifically used for tattooing will be appropriate here.
For homemade machines are not only suitable guitar strings. You can opt for a needle from the set for beads, which do not need to sharpen. An additional advantage - they are quite narrow.
All actions resemble the previous ones with the only exception - the running part of the needle holder is a steel knitting needle, bent on one end. They are connected by means of a plastic pencil rod, which acts as a nozzle through which the needle is inserted. The bent end of the needle is attached to the rotor of the engine, which functions like a steam engine piston.
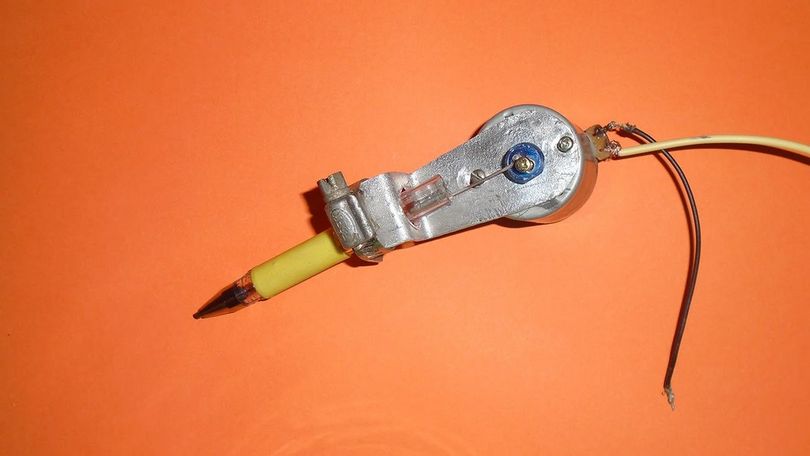
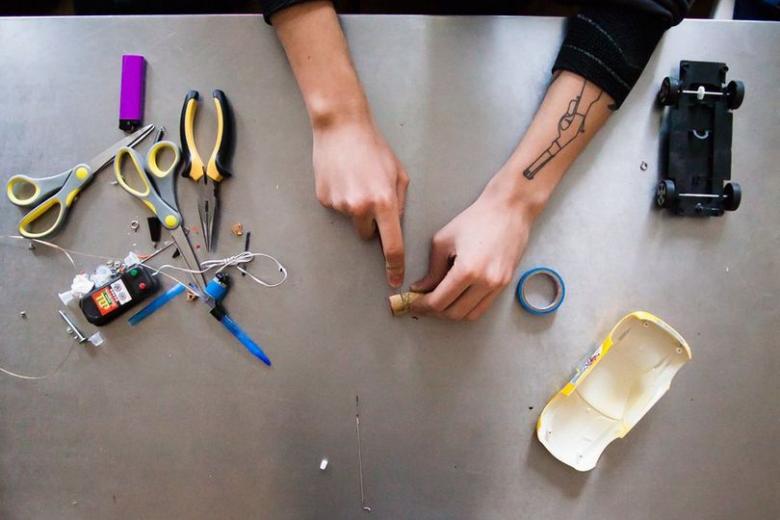
Features of the needle
During the operation, it is necessary to ensure the tension of the string for an even image. A thin string from a guitar is cut at the rate of 20 mm longer than the tube, in this case a rod from a pen or pencil. One end is sharpened sharply, and the other end is attached to the motor, close to the axis of the shaft. It is this position of the needle that will ensure the correct range of oscillation, affecting the accuracy of the pattern.
During the procedure, you should not forget about the precautions, providing a sterile environment in the room. Applying a tattoo can damage the skin. It is necessary to avoid touching anything with the string, rod and needle, for which you need to work in gloves. After all manipulations the needle and pen will no longer be needed.
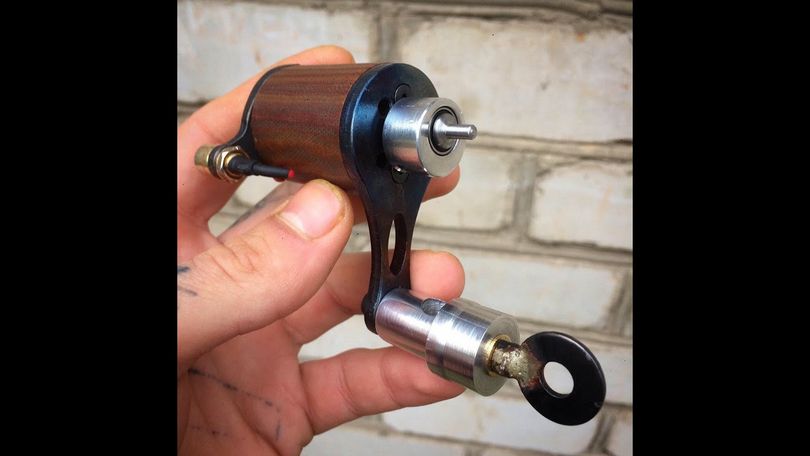
Watching the video clip will help you not to make mistakes. The soft, silent movement of the machine allows you to achieve beautiful and smooth lines so that the tattoo looks attractive. With such a device you can create many styles in the world of tattoo painting!
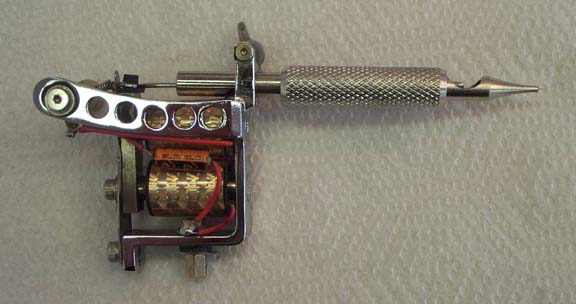
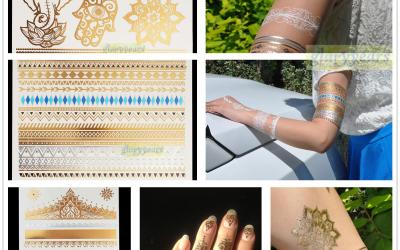
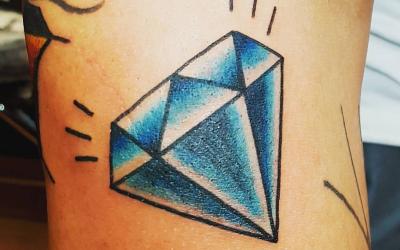
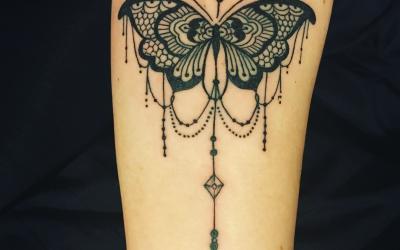
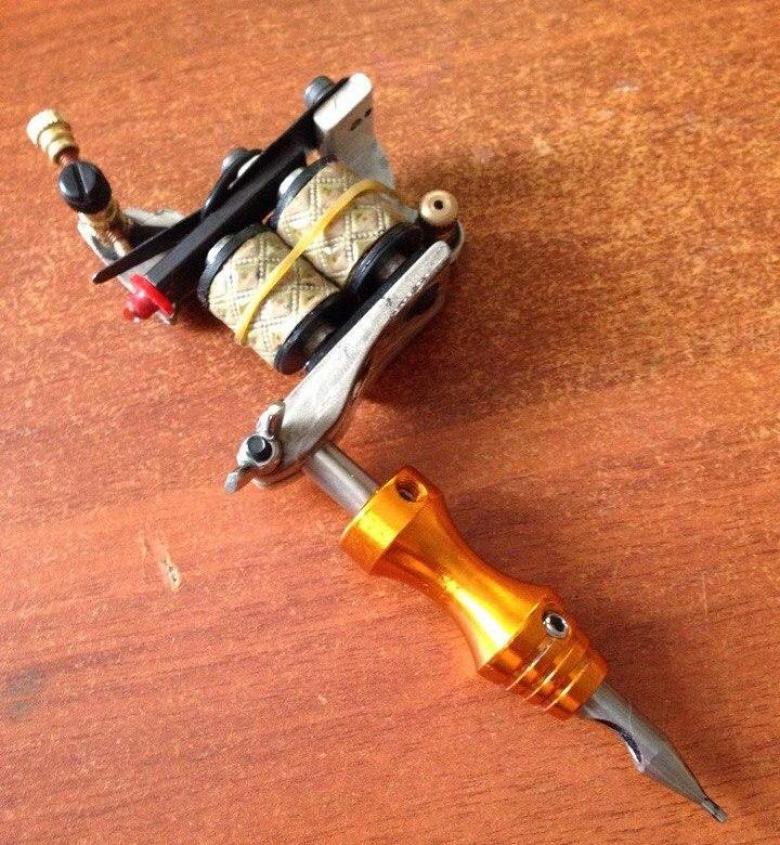
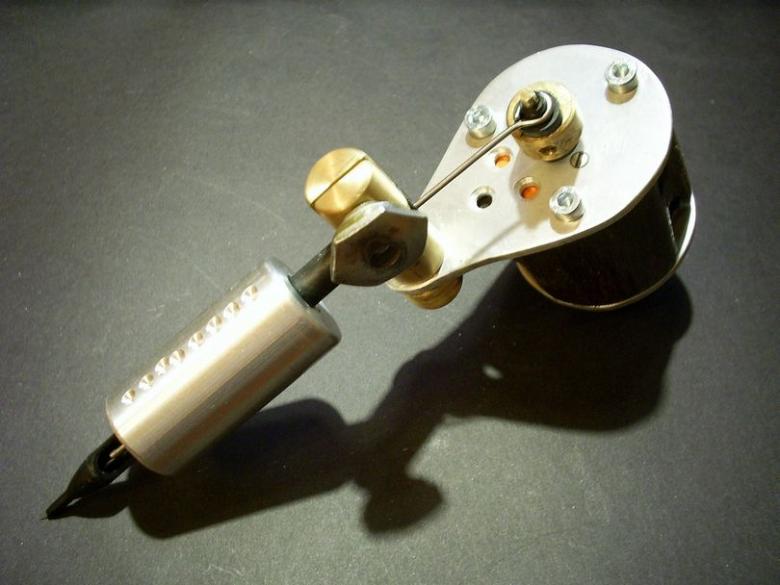
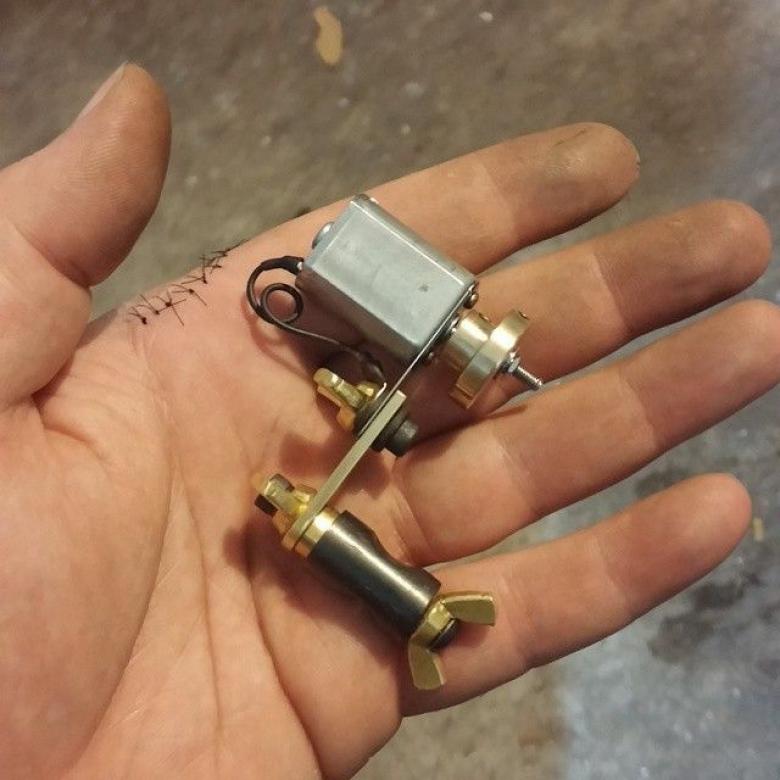
Photo examples of homemade tattoo machines